Medium Format... An intimate affair.

How shooting film has made me a better photographer. Tips, Film Type and why film will never die!

This year I discovered the joy of shooting medium format film, and it has completely rejuvenated my interest in photography as a whole. Lets start by going over what makes medium format so attractive. I have been shooting photography since 2004 when I first picked up my brand new Nikon D100. At the time this 6 something megapixel camera was at the top tier for semi pro and pro shooters alike. In collage I never took any film classes, and really just wrote film off as, oh it takes forever to get developed, I can never see what I'm shooting, and it's just slow. Fast forward to today with over 13 years of photography experience, several digital bodies and lenses later and my favorite camera to shoot... My newly acquired 1979 Hasselblad 500cm. 

Until I bought my Hasselblad I really didn't know much about film as I mentioned above, yet alone the word that is medium format. I didn't know what 120 film was, or the 6x6/645 lingo until a photo friend started to show off his Mamiya 645 camera.  Lets just say it it peeked my interest. I started the long and grueling internet search for medium format cameras. I looked at photographers, bloggers, reviews, brands and so on. I was immersed in this new found love, it became an intimate affair. 

After I settled that I wanted a Hasselblad, mainly for it's iconic look and heritage I found a perfect example on Ebay and took the plunge. It arrived a few days later as anxiously awaited the USP driver like a little kid on Christmas morning. I opened the box and I was infatuated with the cameras purity. I snagged some film and started shooting.  

1979 Hasselblad 500cm with a few of my favorite rolls of 120 Film.

1979 Hasselblad 500cm with a few of my favorite rolls of 120 Film.


Slides of film are tangible... You can touch them, they aren't something lost on a hard drive.

Slides of film are tangible... You can touch them, they aren't something lost on a hard drive.

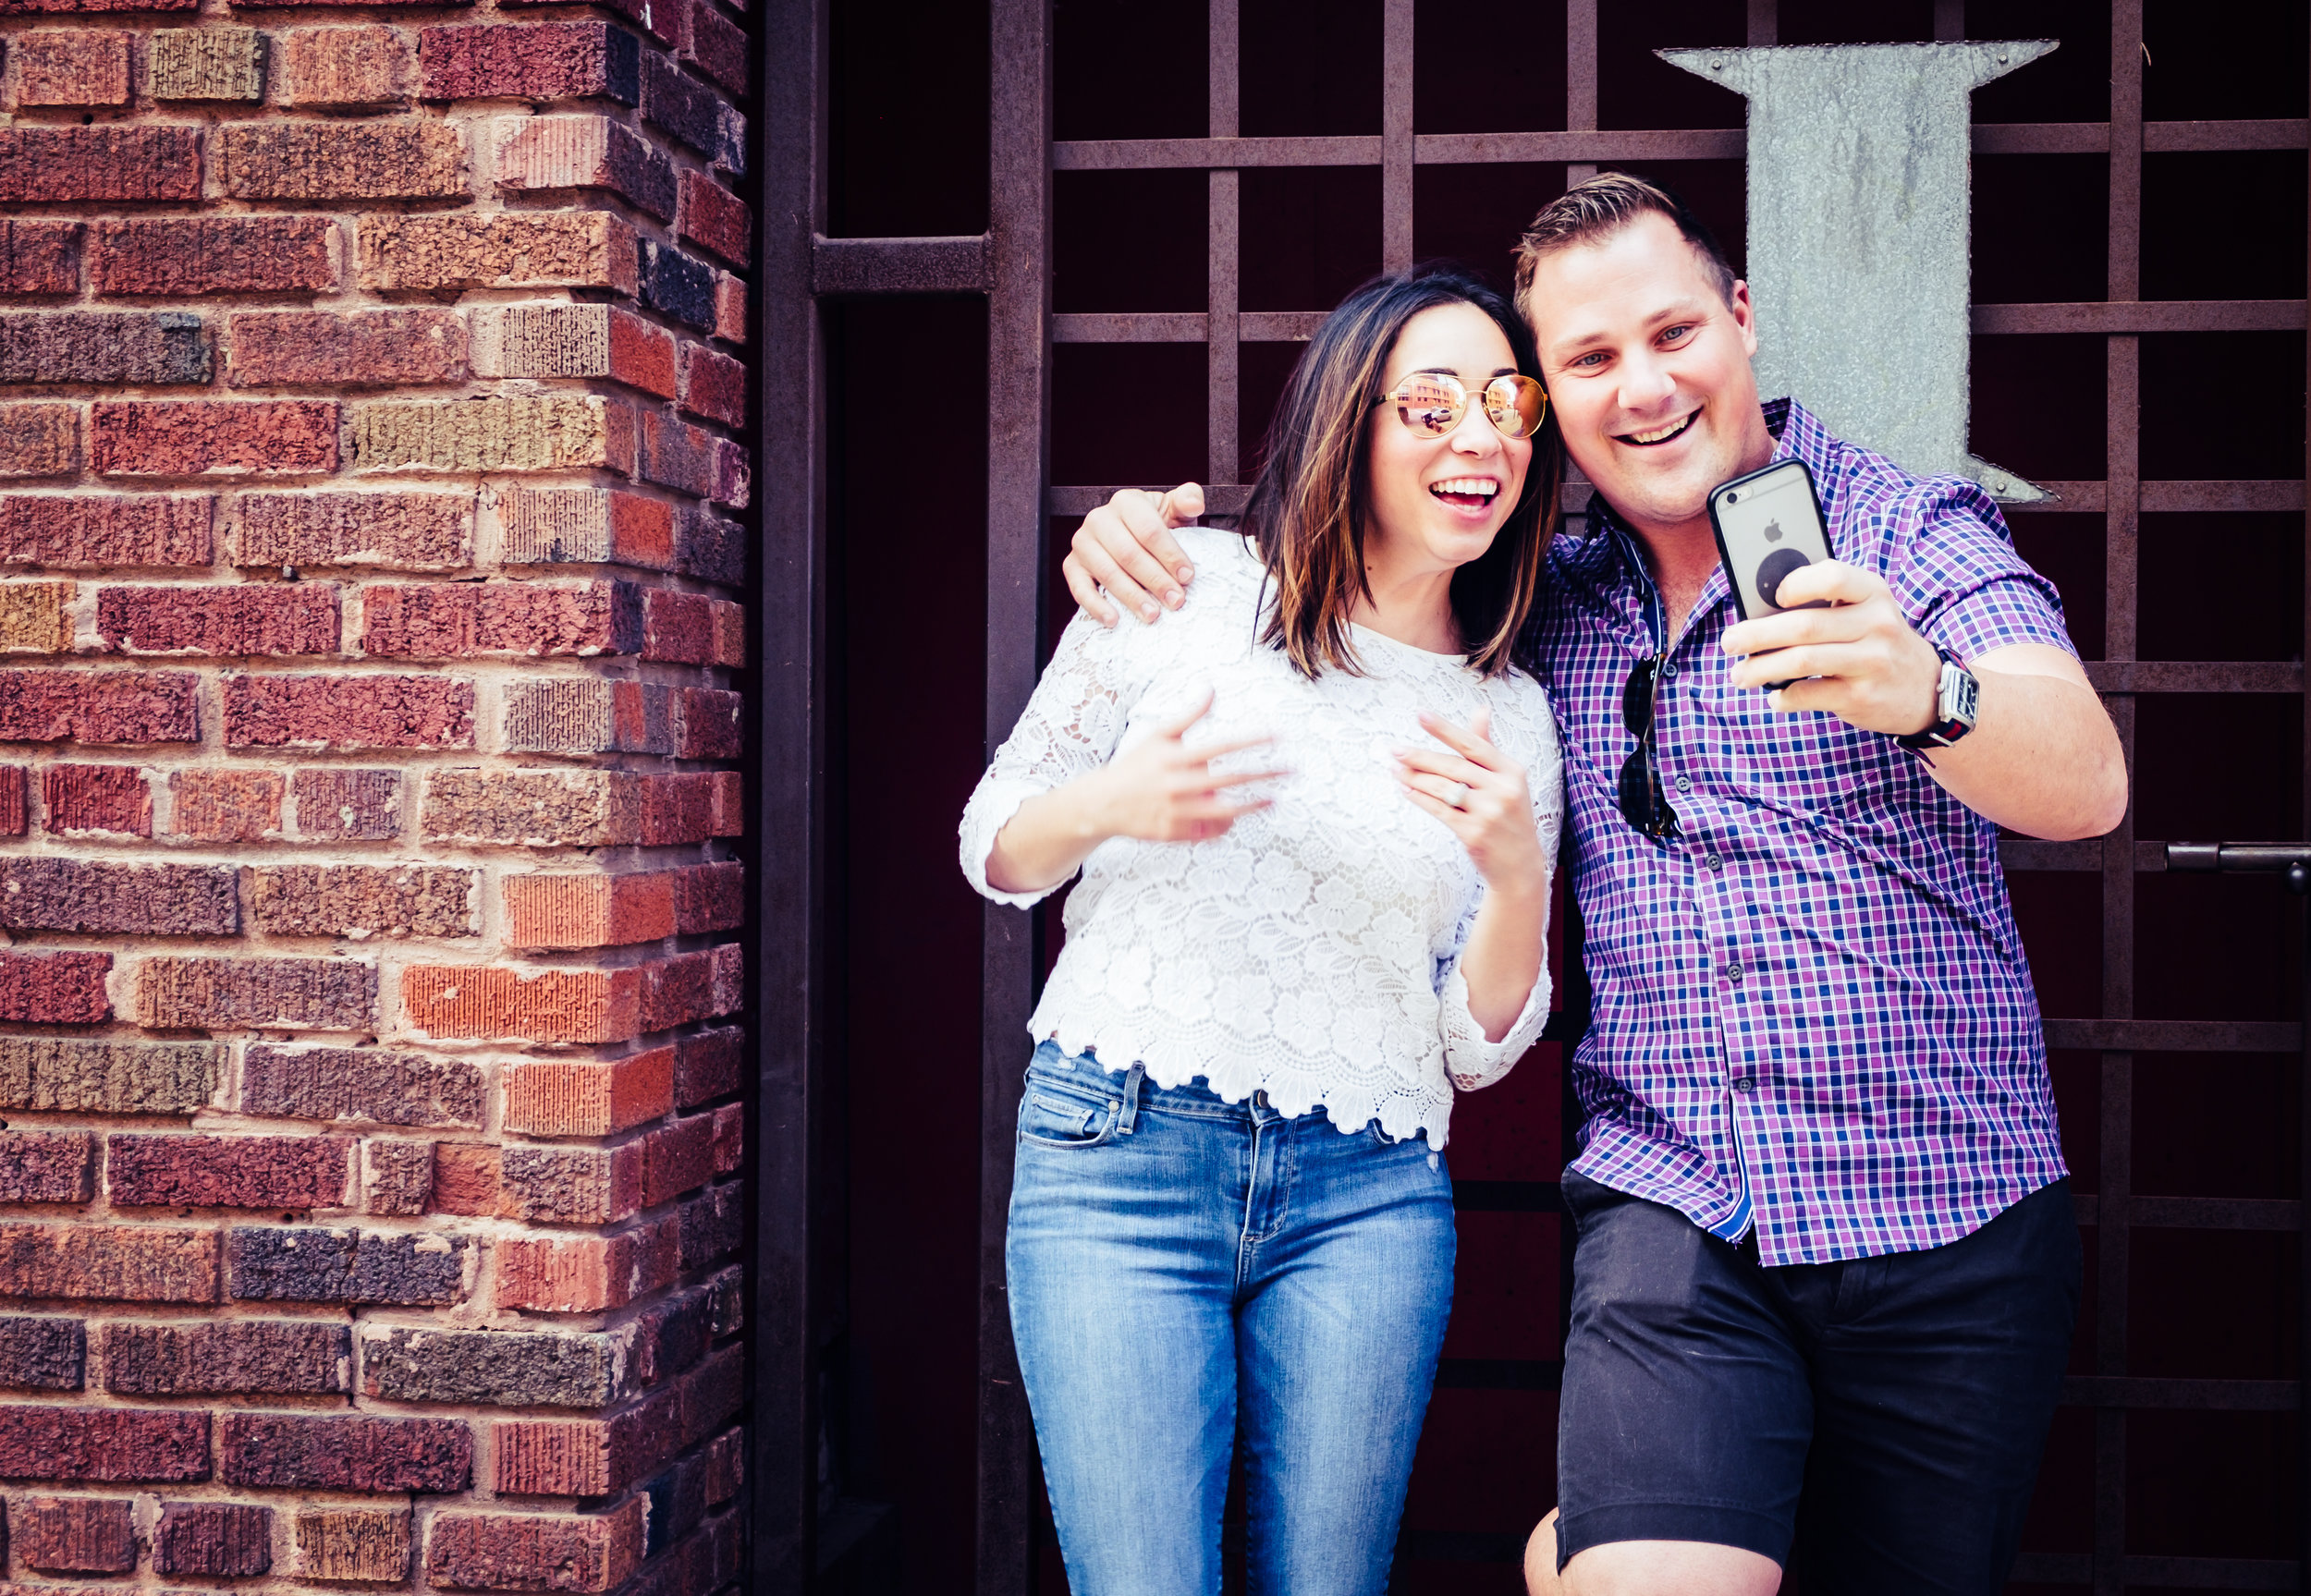
Wait so your'e saying it shoots a square photo? Like Instagram? Sure you can say that, although this is OG and timeless. At first I didn't know how I would like the square look. It takes a lot more thought and time to really compose an image because well for one, the rule of thirds it a bit thrown off, it's hard to lead your subject, and square proportions usually leaves a little less of a desired look. 

I was hesitant at first and sort of unsure how to approach photography, something I've been great at for the past decade. However, the rudimentary shape of a square quickly became somewhat of an obsession and a challenge. It makes one look at a photo, a portrait or a landscape in a whole new manor. 

Loading a roll of film takes time, patience, and a certain meticulous care. With a medium format camera one doesn't just turn on the camera and blast away at 14 frames a second. Remember with 6x6 you only get 12 shots so make them count, and the old saying can be applied, measure twice and cut once...except expose twice or three times and shoot once. 

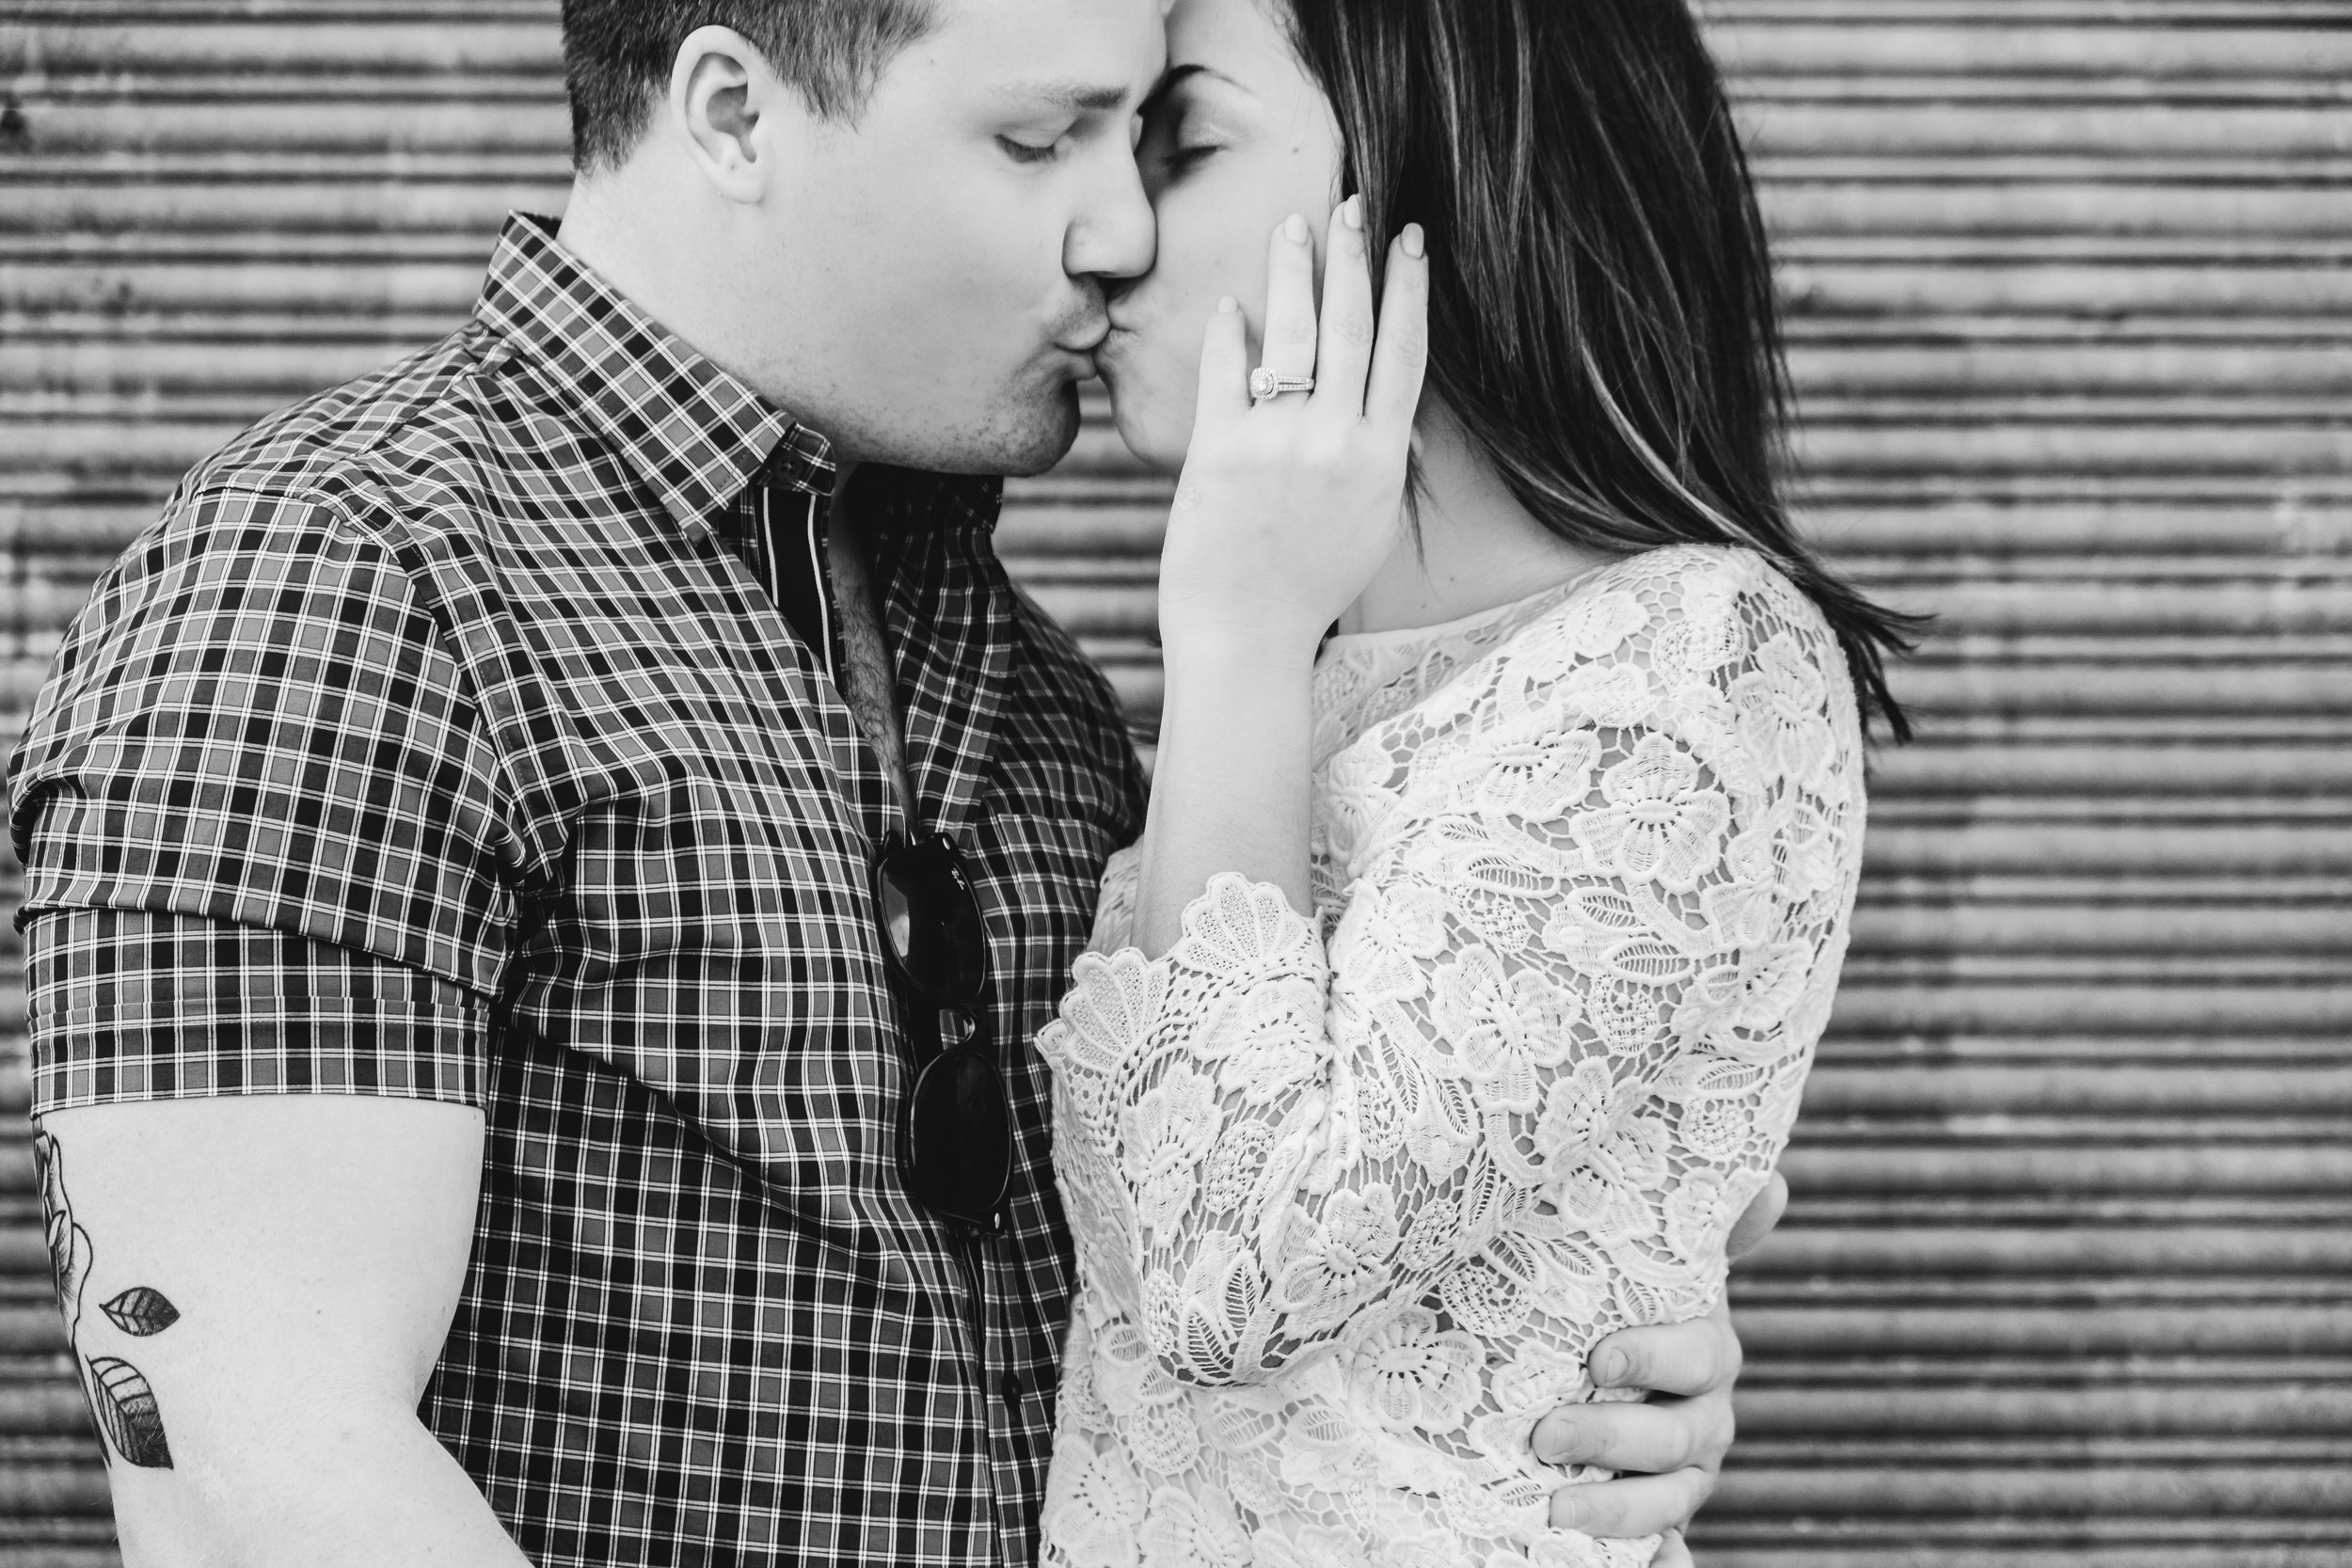
When I shoot a roll of film I might not finish a roll in a day, week or even two weeks. Sometimes I forget even what is on the roll once I get it developed. I plan my shots, I wait for the moment and capture something sensational on a tangible format. Once you start shooting film it almost becomes an extension of yourself. When I shoot film, I'm in no rush, I think about my shot before I even compose the exposure and then I think about it some more. I can't Photoshop the image after or crop someone out it's there forever engraved into a piece of transparent plastic. 

I encourage everyone especially these days to explore film if they can. Maybe not jump into medium format right away, but 35mm cameras can be had for some great prices. Explore different film types, some are high contrast some are grainy or smooth. Slow down your shooting, explore new mediums and don't limit yourself the the digital world. 

Take Your Own ENGAGEMENT Photos!! A can do attitude!

Planning a wedding can be tedious, stressful, confusing, and probably, most importantly, costly on the pocket book. One way to have fun with your soon to be bride or groom is to alleviate the stresses and spend a fun filled day together out in the city, or maybe the mountains, or a place you both consider romantic. Not only spend the day together but bring along a few simple tools to take your own engagement photos! Now I'll admit it, I have over 8 years in the photography industry, some hobby and some working professionally on many different projects, however taking your own photos is not as daunting as it may seem. I will give some helpful tips and tricks to follow and you can achieve similar results. Let's get started!   

Selfie time! Actually I'm using my phone to control my camera shutter remotely!

THE GEAR! So I used to believe the more $$ the camera the better it is. While that is still true somewhat today, most decent consumer "non professional" cameras on the market are packed with megapixels and features. I will break it down.

THE CAMERA: Fuji Xt1 camera. Fuji 18-55mm f2.8-4  Tripod: Any sturdy tripod will do, however make sure when fully extended it's sturdy and wont tip over (some of very cheaply made) and a smart phone that allows you to download the Fuji app in my case or a wireless shutter remote that works for your camera brand. That's literally it! 

My fiance and I strike a pose while I control the camera with my phone behind me!

For the camera, it can be any type honestly, and whatever your budget fits. I like to buy used as long as it's from a reputable company locally or online. KEH, Adorama, and B&H Photo are all awesome sites that have used gear and offer warranties with them. I bought my XT1 right after the XT2 came out and got a great deal on it!. Fuji, Sony, Nikon and Canon are all great brands, however Sony and Fuji are stepping ahead of the game in the tech and features department and being mirrorless, they offer a much more compact option. 

I would also recommend something that you can change the lenses on but it's not totally needed, just givesyou more options down the road. At the end I'll have a few recommended cameras that are of different styles. 

A peaceful yet productive Saturday afternoon. 

Just dancing on the sidewalk... No big deal! 

THE PLAN: I would highly recommend doing a bit of recon where you plan to take photos. You don't necessarily have to know every single spot but know the area and always have a backup plan! We choose an urban environment for we felt it would give us many different looks and have more areas to explore as apposed to a rural or even mountainous environment. Do some research too! Agree on the look you want and research on the shots other people have done then replicate that with your own flair! I also planned for the shoot to take longer than it actually did. Typically with your own photographer he or she will tell you how to pose, what to do and you can knock out a shoot in 2-3 hours. We took slightly longer, about 5-6 hours total. This did include a few breaks but we still managed our time wisely. Time used for setting up the shot on the tripod, different poses, walking around other parts of the city all take up more time so plan for that!

TOP TIPS: Check the weather too! May be overlooked but make sure you know when you are heading out that the weather is great for the whole day. You can also bring a few different outfits to do a wardrobe change mid session if you would like. Bring a small bag to use for snacks, water, and miscellaneous things if needed or just take a break grab a coffee, snacks or some bloody marry's, on a break!

Most importantly have fun! Make the day stress free and what you want!

When it comes down to it these are your photos and they should reflect you both individually and as a couple. Don't get caught up in a million different details and that every single shot has to be perfect or else the day is ruined. Communicate with each other in the look you want. Bounce ideas of each other and make them work. Some ideas don't work but experiment and find out. Remember two minds are better than one! 

ONE FINAL THOUGHT: Now you may ask yourself... But I'm not a pro photographer or don't have the experience like you. How can I even come close to getting shots like that! Don't sell yourself short. Patience and knowing you can do it is half the battle. Make sure you are in good light, a super bright sunny day is not ideal, unless it's early in the morning or late in the afternoon when the sun starts to go down, overcast is actually the best because it diffuses the light and doesn't cast harsh shadows. Try NOT to use the on camera flash. This will create a weird look and in my opinion not as professional looking. Natural light is your friend. Shoot your photos in RAW format and on the maximum file setting. This will allow you to extract the most info out of your images for the best results later on. I recommend Adobe Lightroom CC for editing. It makes adjusting the photos very easy. You can download a free trial from Adobes website and edit the photos and never have to pay for it... unless you want to use it after 30 days. Lastly, most cameras these days as I mentioned have oodles of megapixels, however try to at least find something that is over 12. Anything beyond that is honestly overkill for amateur photography. With 12 you will be able to post them online easily, and make decent size prints for your friends and family.

RECOMMENDED CAMERAS: Fuji XT1, Sony A6000. Those are my two top cameras I would suggest. And honestly for the $$ I would go with the Sony. It already comes with a lens. It's higher megapixels and it's smaller. Both offer features too where you can send the pictures to your phone which is great for social media uploading. 

Well although a bit lengthy, I hope I covered a decent amount to enable you to get some great photos! If there are more questions feel free to email me or comment and I can help with answering anything. Happy Shooting!